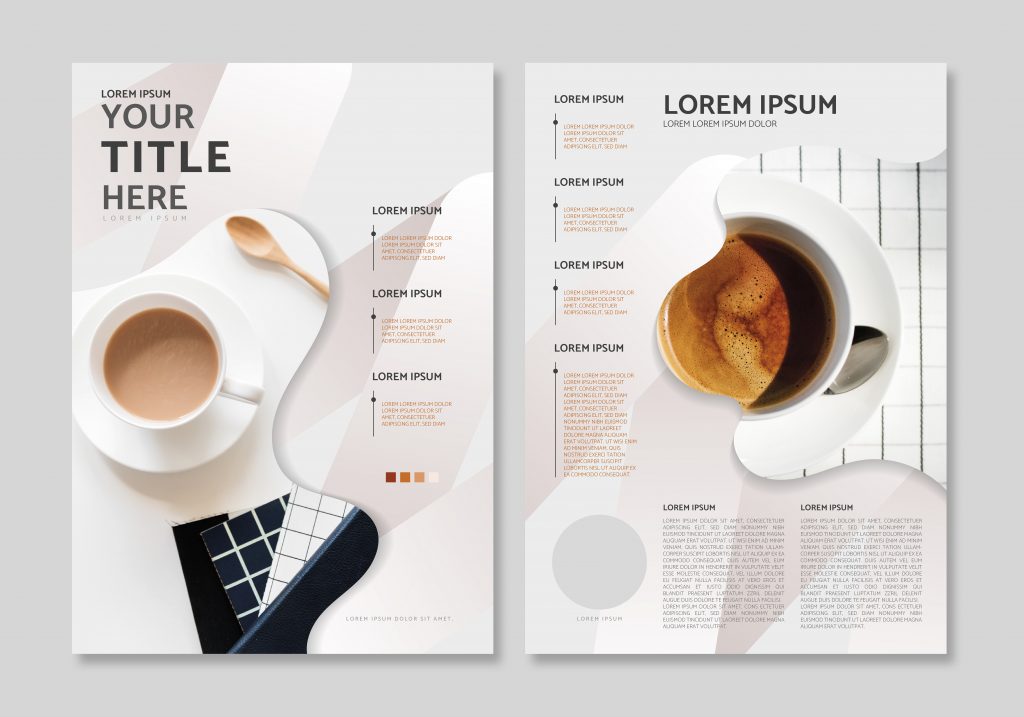
A brochure is a significant marketing tool to introduce your clients to the goods and services of your business.
Before finding the best way to distribute brochures to your target audiences, the marketing team needs to take
different steps in the design process.
For others, with only a few steps, this method is pretty simple. For others, since their criteria are more complex,
it requires several steps that mean a lot of time and effort.
7 Steps to getting your next brochure ready for print
Identify the purposes of your brochure
What will the main message of your brochure be and what are you hoping to provide to those who read it. Decide on the main headings and perhaps consider how your cover page will look as this often makes a big impact with consumers.
Decide on your page size and quantity
Once you have decided on the general message of your brochure, the next thing to consider is what size your pages will be. You will also need to decide on how many pages your brochure will have. The weight of paper you choose, the size and quantity will all impact on the final cost of your brochure so it always helps to have a budget in mind that you can work with.
Collect necessary elements/content for your brochure
Now that you have decided on the main message of your flyer and have agreed on the page size and quantity, it’s time to start gathering all the content that will fill your flyer. From images to prices and any other relevant information, take your time, and be sure that everything that goes into the brochure will help you achieve your goals. Be sure that all images, especially product images, are of high quality and saved in CMYK format for print.
Put your ideas into sketches or pick a template
The next step in designing your brochure is to finally start to design it. You will often get best results working with a professional graphic designer but if your budget doesn’t allow this and you decide to design it yourself, there are a number of things to consider. Be sure that your text is easy to read and large enough to make it. Your photos must work well on the page and try to keep a consistent layout throughout. It is also important to remember the use of colours and the impact that certain colours have on consumer psychology.
Check all visuals and texts
Now that you have finished with your design it is vital that you proof everything. Check through your brochure not once, but twice to look for any spelling errors, pricing mistakes or glaring errors. It is also a good idea to ask a colleague or a friend to have a look through the brochure and see how clear all the information is. They may spot some errors that you need to change.
Choose the right paper for brochure print
Before sending your final artwork to print you will need to consider the finish of your final print. Will you decide to go with a nice, shiny, glossy finish or perhaps laminate some pages. You may even decide to add a bit of quality to your brochure by opting for a card cover. The finish of your brochure can often say a lot to a customer and you will want it to scream QUALITY to them.
Conclusion
Now that you have finished you brochure design, proofed it and saved it, it’s time to send it to your printer. You will know the quantity required so now all that’s left for you to do is send the final artwork to your printer. The most popular file format requested by printers is PDF format so be sure that your artwork is a print ready PDF.
Be sure to check out our checklist on creating production ready artwork for more information on what to do when designing a brochure for print. One final thing to remember is the importance to plan your distribution. Consider the logistics of how you will distribute your brochures to new and existing customers.
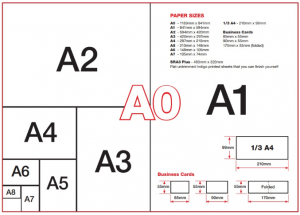
Paper sizes
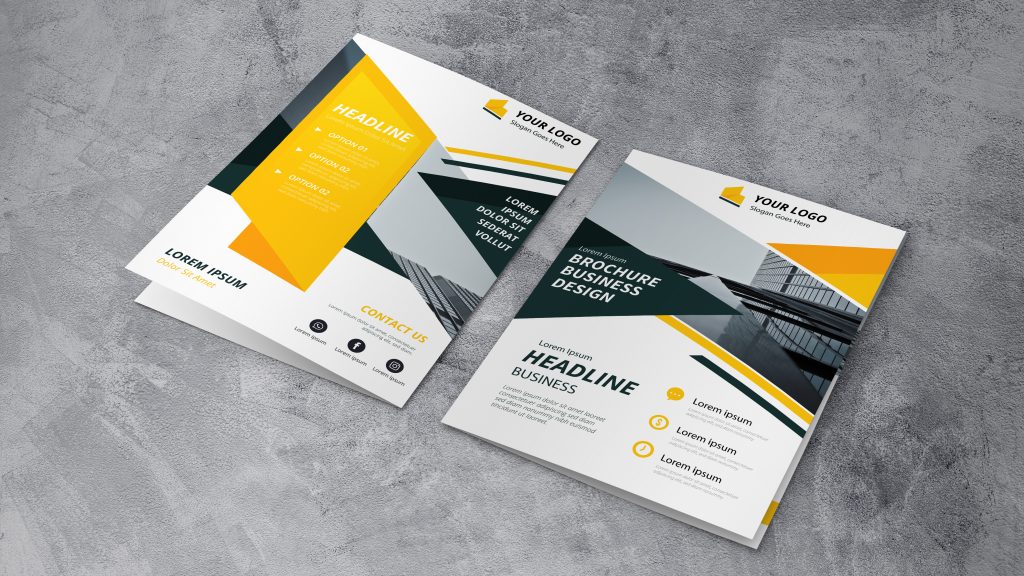
Brochure mockup